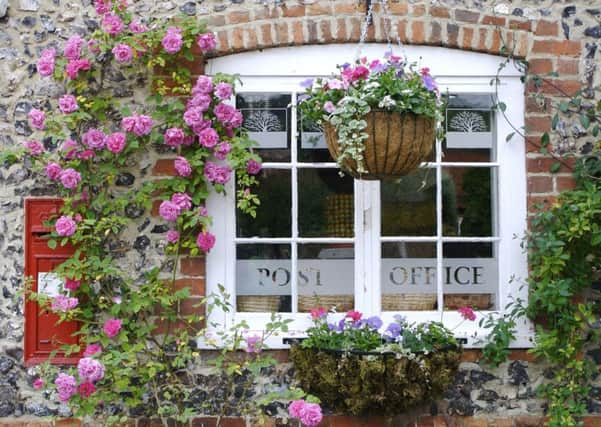
Baskets of beauty


Wire baskets are among the most popular, which you can either line with sphagnum moss, coconut fibre or other eco-friendly made-to-fit material with ready-made holes at the sides so you can plant into the side of the basket as well as out of the top of it. I usually add a smaller circle of black polythene to the inner base of the liner to reduce water seepage.
But there are also many pretty closed-sided baskets on the market which are easier to plant as you only have to put plants in the top, and easier to water, but you can’t achieve the all-round effect you can with an open-sided basket.
Advertisement
Hide AdAdvertisement
Hide AdFor me, the biggest bugbear about hanging baskets is the watering, but you can now buy compost which is specially formulated for containers, incorporating water-retaining agents and feed. If you can’t find that and are just using annuals in your basket, go for multi-purpose compost, adding water-retaining granules to the liner before the compost, and slow-release plant food pellets.
If you are planting a longer-lasting basket with more permanent plants such as hostas and heucheras, or evergreens including skimmias and variegated ivies, use John Innes No 2 compost.
For open-sided baskets, place the basket on top of a bucket, which will allow easy access from all sides. Insert the liner and press it into position. Have your compost in a bucket, so you can add your pre-soaked water-retaining crystals to it, as well as slow-release fertiliser granules, and mix thoroughly.
If you want to plant through the sides of the basket and the holes in the liner aren’t pre-cut, make cuts in the liner for each plant using a knife.
Advertisement
Hide AdAdvertisement
Hide AdAdd enough compost to the basket to level off below the side holes, then plant your plants through the holes, either from the outside, compressing the roots so they will go through the holes, or from the inside, carefully feeding the shoots through the hole.
Build up another layer of compost, firming those first plants as you go, and continue planting. Trailing plants such as lobelia, verbena and bacopa should be planted around the sides and at the edge of the top of the basket, while upright plants should be placed in the centre.
While historically hanging baskets have incorporated a riot of different colours and plant varieties, more recently, people have gone for single varieties. Perhaps that’s because they tend to be lower maintenance as the same plants will have the same needs in terms of watering and feeding.
If you are planting cherry tomatoes such as ‘Hundreds and Thousands’ or ‘Tumbler’ in a hanging basket, water-retaining granules will not be sufficient and you’ll need to water the basket twice a day in summer and feed regularly with tomato plant food.
Advertisement
Hide AdAdvertisement
Hide AdDon’t want to be a slave to the watering can? Go for drought-tolerant plants such as pelargoniums, helichrysum, osteospermum and diascia. Of course, additional greenery such as ivy will rarely let you down.
And remember that if you are planting your baskets up now, most of the annuals you use won’t be frost hardy, so make sure you bring them under a porch or under cover in the evening until all chance of frost has passed.